In the world of DIY crafts, details often determine the success or failure of a work. Adding eyelets to fabrics can not only make them more practical, such as hanging decorations or as small accessories on bags and clothes, but also add a unique creative style to the work. So how to install an eyelets on fabrics? Read this article carefully and you will learn the whole process of installing eyelets.
Tools to prepare
- Hole punch:Choose a tool that is suitable for the fabric type and hole size.
- Fabric:Make sure the fabric is clean and flat for the hole punching operation.
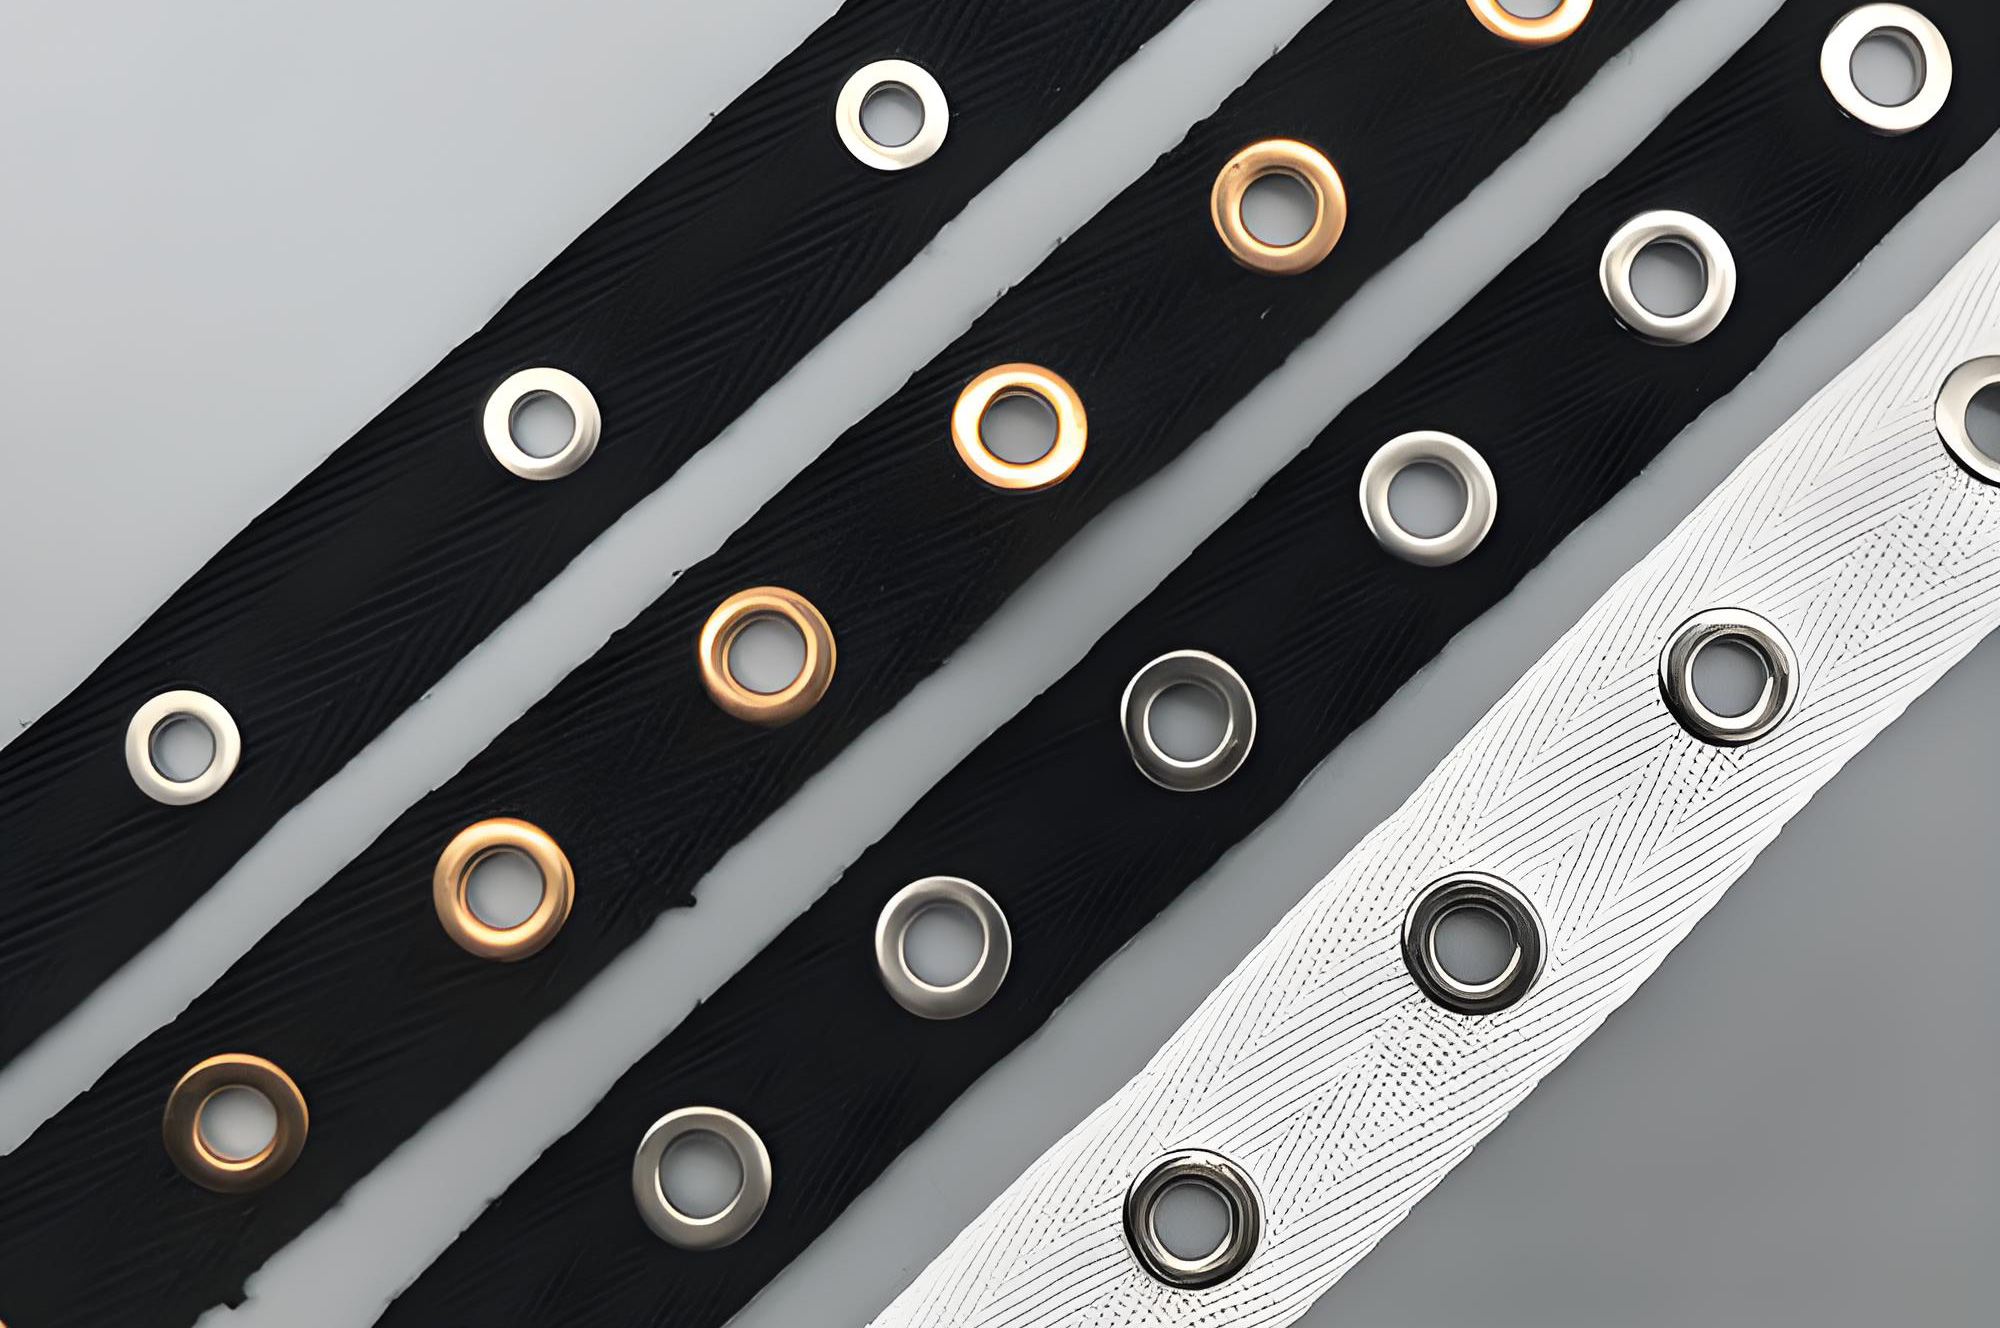
- Eyelet buckle: Choose the appropriate color and style according to the design requirements.
- Ruler or measuring tool:For precise measurement and positioning.
- Marking pen: Temporarily mark the punching position.
- Scissors:Trim excess thread or fabric edges.
- Pliers or tweezers (optional): To assist in picking up small objects when installing eyelet buckles.
How to install an eyelet on fabric?
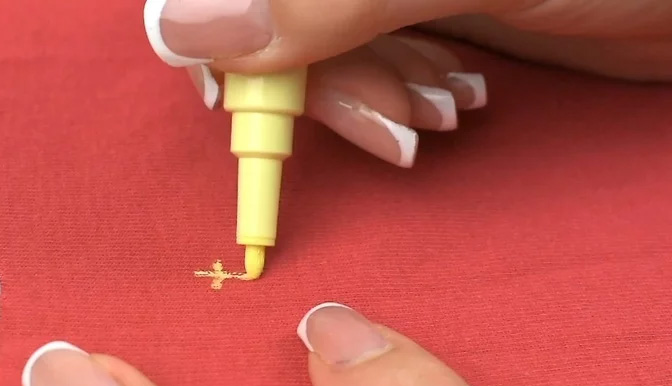
Step 1: Mark the locations on the fabric where you want to make the holes
- Use a ruler to measure and determine the exact location of each eyelet, then use a marker to lightly draw the mark, such as an “X”.
- Lay the fabric flat on a stable work surface and use clamps or weights to secure the fabric around the edges to prevent it from slipping while punching.
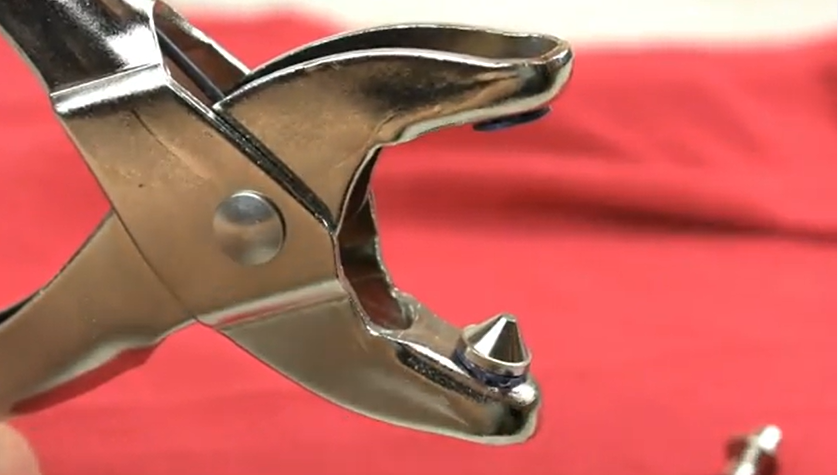
Step 2: Insert the tapered punch and die base into opposite sides of the pliers
- Adjust the die of the hole puncher according to the size of the hole, and make sure the die is clean.
- Insert the tapered piece into one side of the pliers and the die piece into the other side.
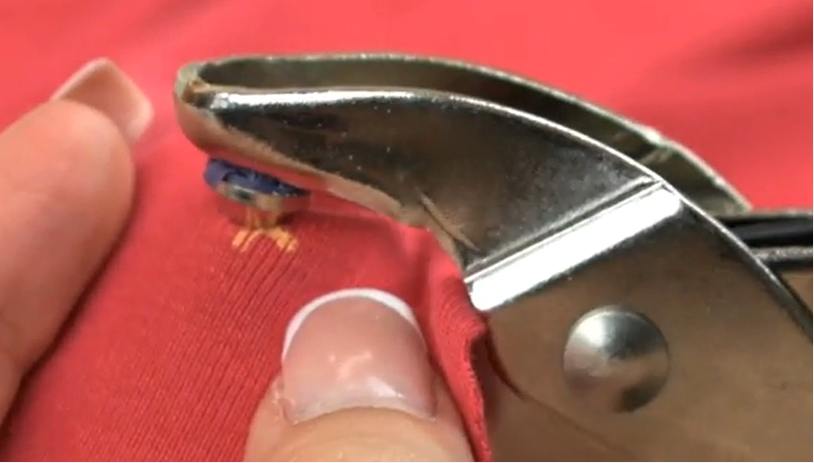
Step 3: Use the hole puncher to make holes
- After placing the die and hole puncher in place, align the hole puncher with the marked point, press gently, and apply force evenly until the fabric is penetrated. Be careful to keep your hands stable to avoid deviation.
- If you need to make more holes in the fabric, repeat this operation.
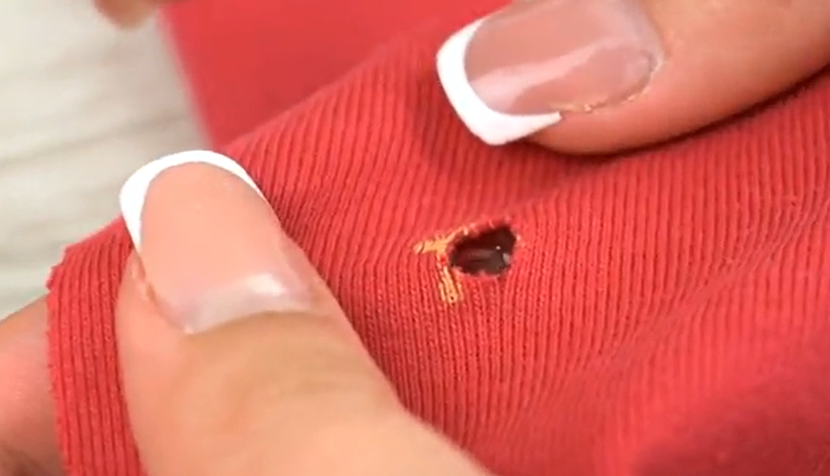
Step 4: Check and modify the small holes
- Carefully check whether the holes are neatly punched and not damaged.
- Use scissors to trim off the excess thread or fabric edges produced during the punching process.
Step 5: Install the eyelet
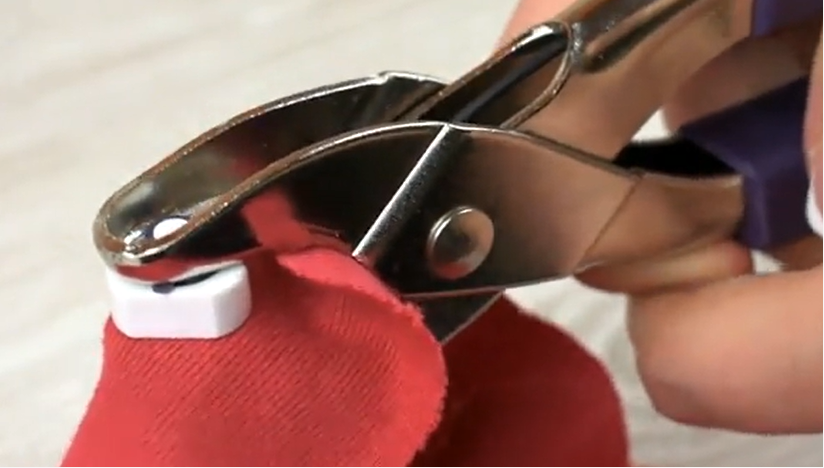
- Put the base part of the eyelet buckle through the fabric eyelet, and then firmly fix the buckle part to the base.
- Repeat the process to add more holes to the fabric.
Summary
Using a hole puncher to install holes on fabric is a handicraft that combines practicality and fun. After reading this article, do you know how to install an eyelet on fabric? However, in order to ensure correct operation and achieve the best results, it is recommended to follow the guide steps in this article step by step. In this way, you can easily enjoy the fun of DIY and create a beautiful and practical fabric work with a full sense of accomplishment.


