
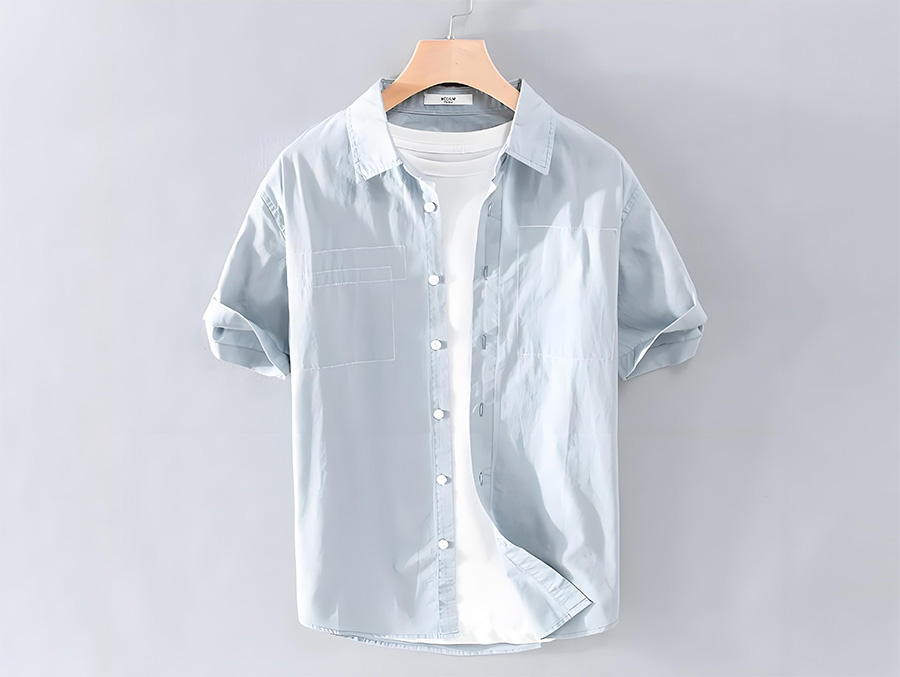
In the fast-paced modern life, we often wear a button-up shirt. But have you ever thought about how to make a button shirt? Today, I will show you how to make a simple yet elegant button-up shirt by yourself, from preparing the materials to the final ironing and inspection. Every step is full of fun and expectation.
What materials do you need to make a button shirt?
Learning how to sew a button-down shirt is not as difficult as you think. The first step to making a button-down shirt is, of course, to prepare the necessary materials:
- High-quality shirt fabric
- Sewing machine (or hand sewing tools)
- Buttons
- Thread
- Scissors
- Tape measure or ruler
- Sewing needle
- Chalk or marker
How to make a button shirt?
Step 1: Cut the fabric
Cutting the fabric is a key step in the entire production process. According to the size and design of the shirt, use scissors and a ruler to accurately cut out the front and back pieces, sleeves, collar and other parts. Remember to leave enough seam allowance when cutting for subsequent sewing.

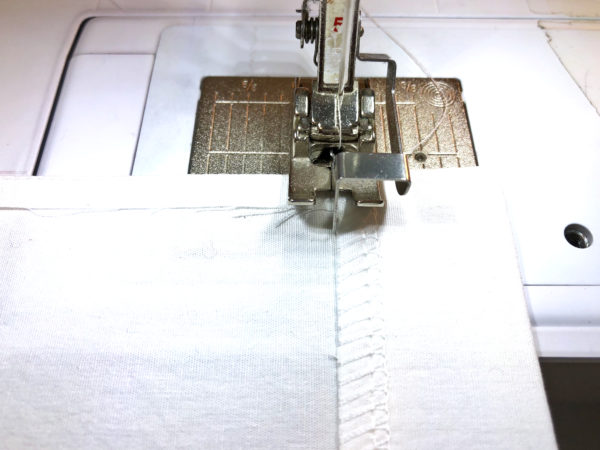
Step 2: Sew the main body
Sew the cut front and back pieces together, making sure to align the edges and keep the lines smooth and neat. You can use a sewing machine for quick stitching, or you can choose to sew by hand and experience the fun of stitching. After stitching, the main body of the shirt is initially formed.
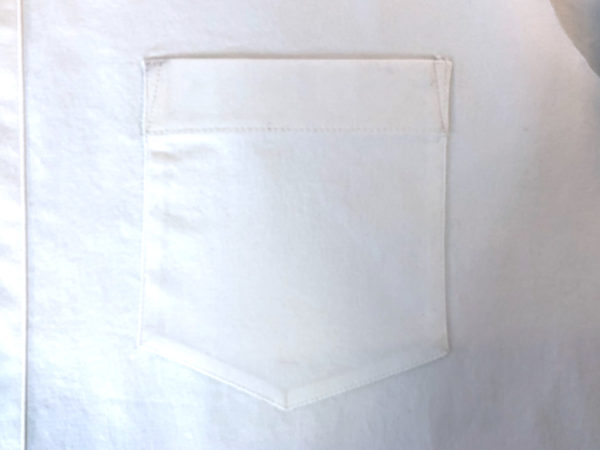
Step 3: Make the front pocket
Next, let’s make the front pocket and turn the top of the pocket up. Then sew the pocket to the top of the left front of the shirt. Make sure the pocket opening is aligned with the stop of the shirt and fold the other raw edges of the pocket by about 3 mm.
Step 4: Make the sleeves
Next is the sleeves. First, align and sew the two pieces of fabric for the sleeves to form a complete sleeve. Then, sew the sleeves to the main body of the shirt. When sewing the sleeves, pay attention to the position and angle of the sleeves to ensure that the sleeves fit naturally with the body of the shirt without twisting or misalignment.

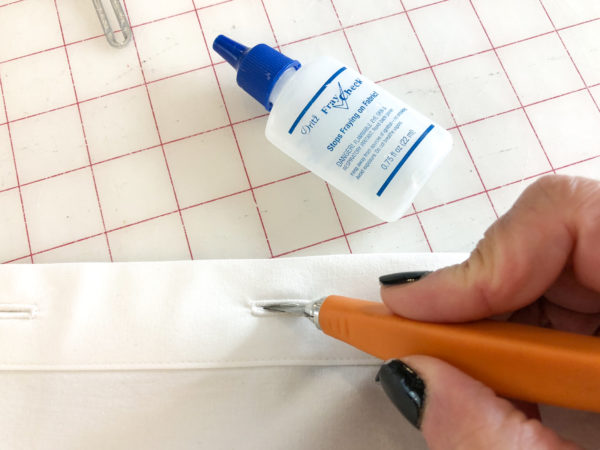
Step 5: Add buttons
Buttons are the finishing touch of the shirt. According to the design drawings, punch holes in the appropriate position of the front of the shirt, ensure that the buttonholes are the right size, and put on the buttons. You can choose buttons that match the color or material of the shirt to increase the overall beauty of the shirt.
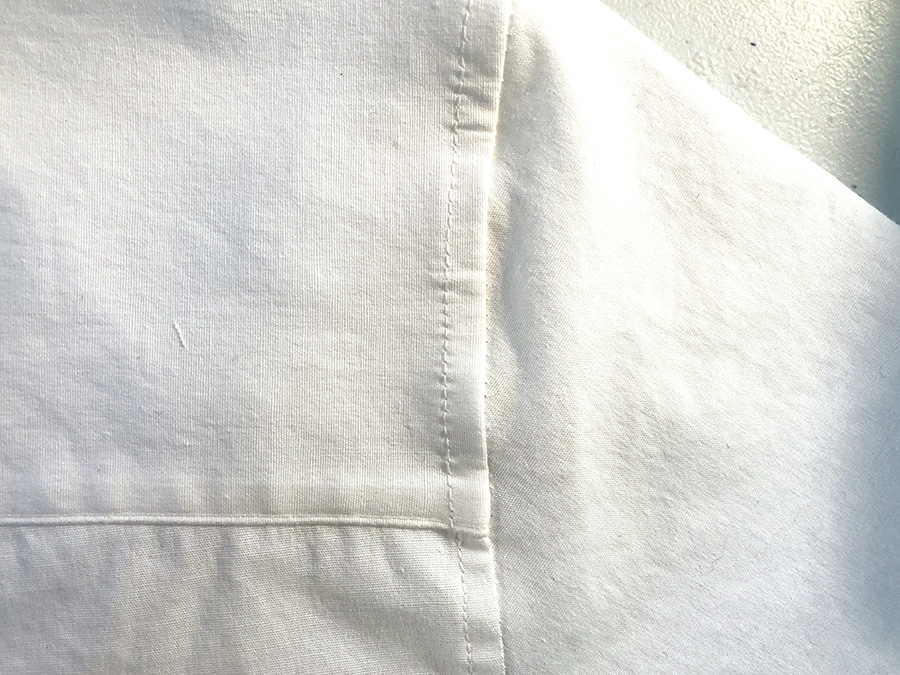
Step 6: Ironing and Inspection
After the buttons are installed, iron the entire shirt. This not only makes the lines of the shirt smoother, but also removes wrinkles that may have occurred during the production process. After ironing, carefully check each part of the shirt to ensure that there are no leaks, misaligned seams, or unfinished threads.
Details to pay attention to when sewing a button shirt
Detail 1: Choose the right fabric and buttons
- Choose high-quality shirt fabric, and make sure the color and texture of the fabric meet the design requirements.
- Prepare the right buttons, consider the size, shape and material of the buttons, and make sure they match the overall style of the shirt.
Detail 2: Sleeves should be sewn precisely
- Pay attention to the position and angle of the sleeves to ensure that the sleeves fit the body naturally without twisting or misalignment.
- When sewing the sleeves, you can use positioning marks or fixed pins to help position and ensure accuracy.
Summary
After reading the detailed steps in this article, do you know how to make a button shirt? Although making a button-up shirt requires a certain amount of time and patience, the sense of accomplishment when you wear a shirt you made yourself is indescribable. Why not try it now and make a unique button shirt for yourself or your family!