
We often see beautiful patches on jackets, jeans or hats, adding luster to the clothing. If we customize a beautiful patch, how will it be attached to clothing? We have a fun way to iron patches on your own, and below we’re breaking down an easy way to iron patches.
What materials can be ironed on?
- Polyester
- Cotton
- Canvas or denim
How to Iron on a Custom Patch
Select the clothes or items to be ironed, keep them dry and wrinkle-free, and determine the position and direction of the patch to be ironed according to the shape and size of the patch.

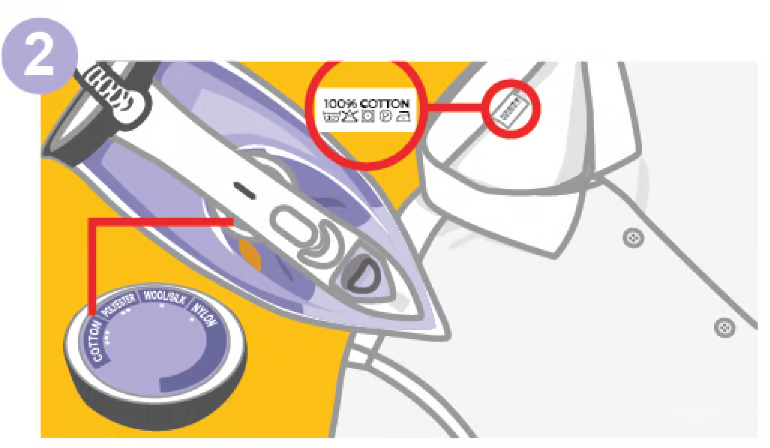
Preheat the iron to the appropriate temperature. Clothes of different materials require different temperatures, which are usually marked with the instructions for use of the ironing patch, and can be adjusted according to the markings.
Iron the area where the patch needs to be applied first with an iron to help activate the adhesive backing.
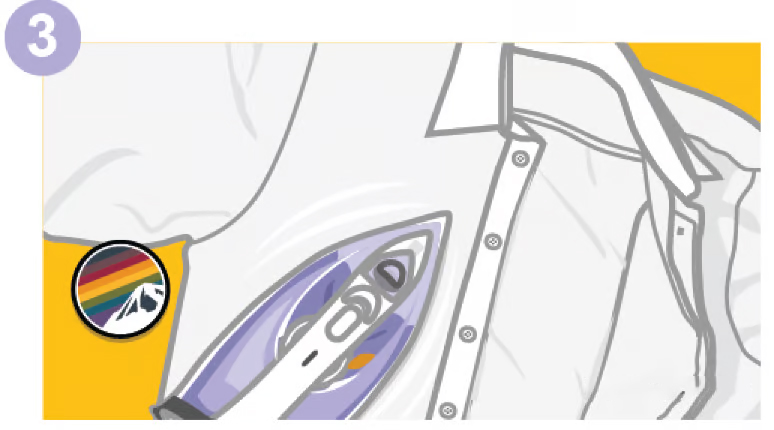
Stick the patch on the clothing, then put a piece of cloth or towel, put the iron on it, and press gently for a few seconds to allow the patch to fully contact the surface of the clothing and stick.
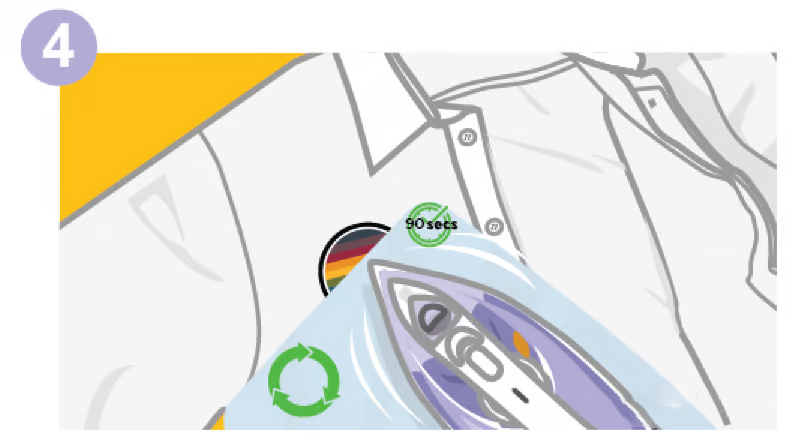
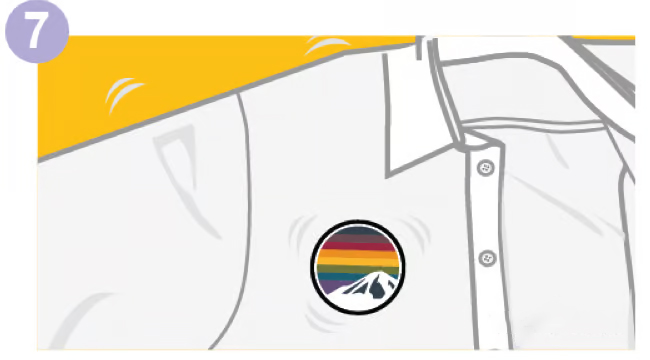
Move the iron slowly along the edge of the patch from left to right and from top to bottom. Then carefully lift a corner of the patch to see if it sticks to the clothing. If the patch is not firm, heat it for a few seconds until it sticks firmly.
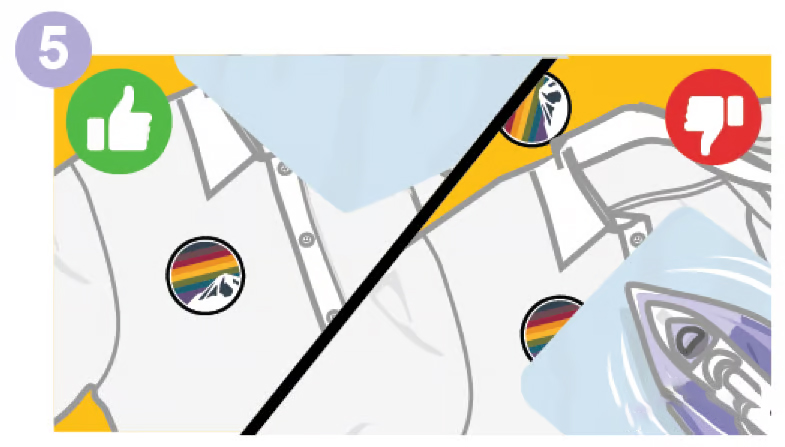
Turn the clothing over after it sticks, repeat the above steps, and heat the back.
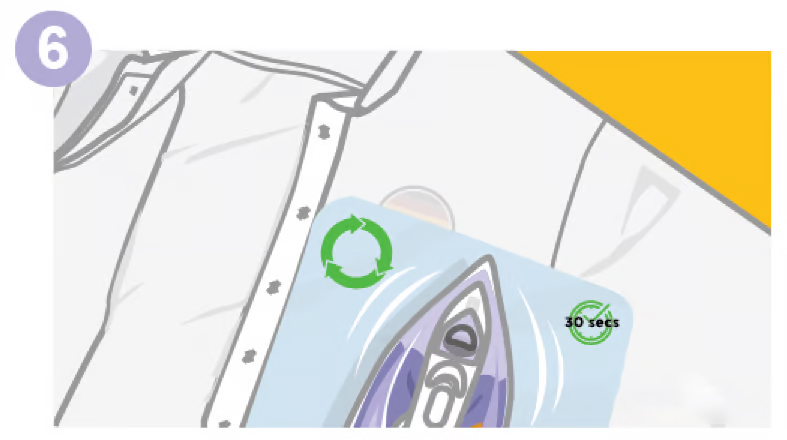
After ironing, let the patch cool down and check whether it is firmly attached. If there is a loose spot, you can iron it again.